Frame Rate, Codec and File Size: The Screen Recording Settings That Matter
Three complaints account for nearly every unsatisfying screen recording: it stutters, the text is blurry, or the file is four gigabytes. All three come from a small number of settings, and the defaults are frequently wrong for screen content.
Screen recording is unlike filming the physical world, and most video advice is written for the latter. A camera captures continuous motion in every frame. A screen is largely static — an unchanging interface, punctuated by scrolls, clicks and typing. That difference changes what the right settings are.
Frame rate: 30 or 60?
The instinct is that higher is better. For screen content it usually is not.
| 30 FPS | 60 FPS |
|---|---|
| Tutorials, walkthroughs, software demos, support recordings | Games, animation, fast scrolling, anything where motion is the subject |
| Roughly half the file size | Roughly double the file size |
| Much lighter on the CPU, so fewer dropped frames | Demanding — the usual cause of stuttering captures |
| Indistinguishable from 60 for static interfaces | Visibly smoother only when something is genuinely moving fast |
The counter-intuitive part: recording at 60 FPS on a machine that cannot sustain it produces a worse result than 30, because the recorder drops frames unevenly. That shows up as stutter, and — because the audio keeps running at full speed while frames go missing — as audio gradually drifting out of sync, which is the single most common complaint about long screen recordings.
Codec and file size
The codec determines how each frame is compressed. ViScreen offers DIVX, XVID and MPEG. These are well-established, widely supported codecs that every video editor opens without complaint, and they encode quickly with modest CPU load — which is exactly what you want during capture, since encoding competes with the application you are recording.
One practical consequence worth planning for: if the recording is going straight to a social platform, a website or a video host, export it to H.264 MP4 from your editor first. That is the format those destinations expect, and uploading anything else means the platform re-encodes it with settings you did not choose.
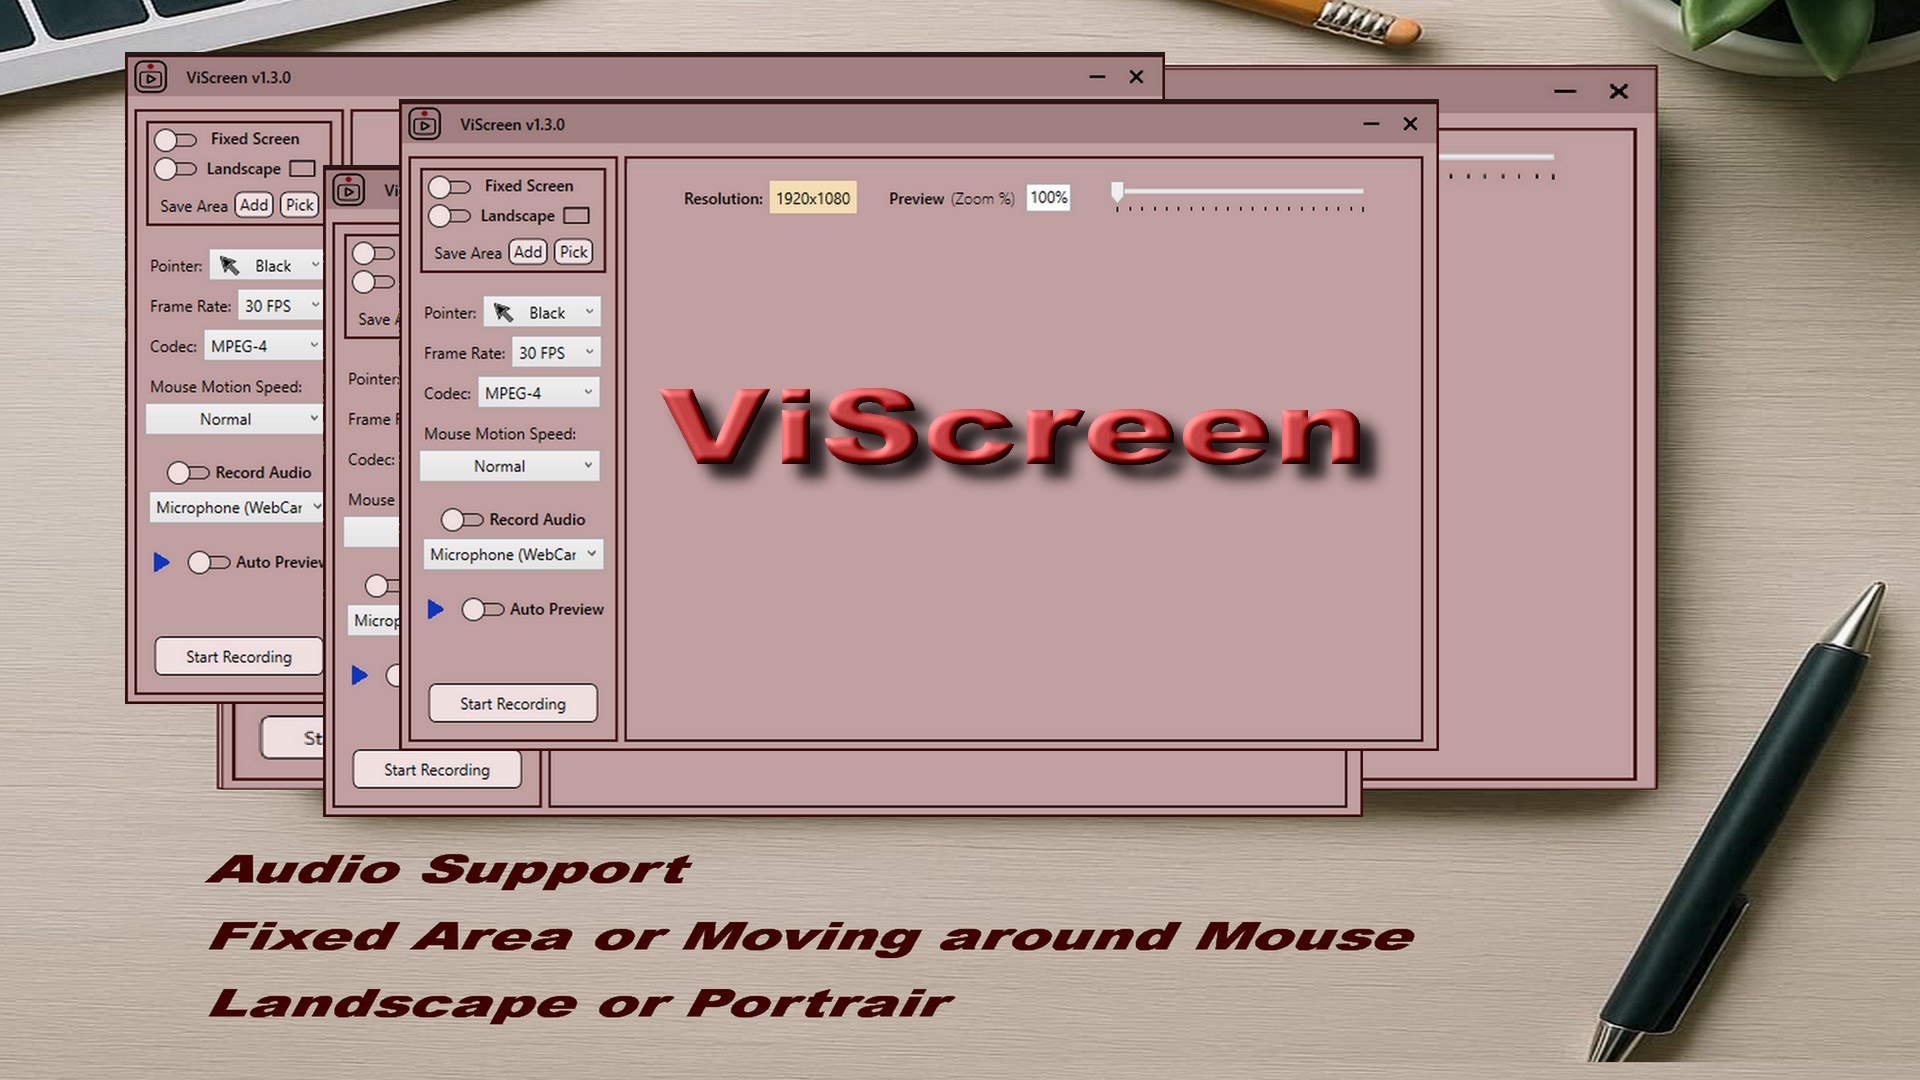
Settings that fix the three common problems
Work through these in order — the first two solve most cases on their own.
-
Drop to 30 FPS unless motion is the subject
For tutorials, walkthroughs and demos, 30 FPS looks identical to 60 and halves both the file size and the CPU load. Reserve 60 for games, animation and fast scrolling.
-
Shrink the capture area
Recording a smaller region is the single most effective performance change available — a quarter-size area is roughly a quarter of the work — and a tighter frame usually makes a better tutorial as well.
-
Close what is competing for the CPU
Encoding runs alongside whatever you are recording. Browser tabs, sync clients and background updates are frequently the reason a capture drops frames on hardware that should cope.
-
Record a short test and check sync at the end
Record a minute, then play the last few seconds. Audio drifting behind the picture means frames were dropped during capture — lower the frame rate or shrink the area rather than trying to fix it afterwards.
-
Fix blurry text by enlarging the subject, not the resolution
Zoom the application or record a tighter region so the content occupies more of the frame. Raising resolution does not help when the viewer is scaling the video down to fit their window.
-
Export to H.264 MP4 before uploading
If the recording is going to a website, video host or social platform, convert it in your editor first so the destination is not re-encoding a format it did not expect.
Capture area affects performance more than any other setting. Recording a 1920×1080 region is roughly four times the work of recording a 960×540 one. If your capture stutters, shrinking the recorded area helps more than any codec or frame-rate change — and for most tutorials a smaller, tighter frame is a better recording anyway.
Why screen text goes blurry
Blurry text in a screen recording is almost never the recorder's resolution. It is one of three things:
- Scaling at playback. A 1920-wide recording played in a 900-wide window is being shrunk by half, and fine text does not survive that. Record a smaller area rather than a bigger one.
- Upscaling after a crop. Cropping a region out and enlarging it to fill the frame enlarges the artefacts too — this is the specific reason to record vertical video natively rather than cropping it, covered in recording 9:16 on Windows.
- Platform re-encoding. Video hosts re-compress everything they receive, and fine detail on a flat background is exactly what compression discards first. Larger interface text survives this; small text does not.
The general fix is the same in all three cases and it is not a setting: increase the size of what you are recording. Zoom the application, or record a tighter region, so the meaningful content occupies more of the frame before anything else gets a chance to shrink it.
A sensible default
For a software walkthrough with narration on a typical office PC: 30 FPS, a capture area no larger than you need, system audio and microphone both on, and headphones. That combination is smooth on modest hardware, produces manageable files, and stays in sync over long recordings.
Get ViScreen
Frame rate, codec, capture area and audio — all adjustable, in a recorder bought once.
View on the Microsoft Store$14.99 USD · one-time purchase · Windows 10 & 11
Frequently asked questions
Should I record my screen at 30 or 60 FPS?
30 FPS for tutorials, walkthroughs, demos and support recordings — screen content is largely static, so 60 looks no different while doubling the file size and CPU load. Use 60 only when motion is the subject, such as games, animation or fast scrolling. Recording at 60 on hardware that cannot sustain it is worse than 30, because dropped frames cause stutter and audio drift.
Why is my screen recording laggy or stuttering?
Almost always because the machine cannot sustain the settings. Lower the frame rate to 30, reduce the capture area — a 1920×1080 region is about four times the work of 960×540 — and close background applications competing for the CPU. Capture area is usually the most effective single change.
Why does my audio go out of sync in long screen recordings?
Because frames were dropped during capture while the audio kept running at full speed, so the picture gradually falls behind. It is a symptom of an overloaded PC rather than an audio fault. Lower the frame rate or shrink the capture area and record again — correcting drift afterwards in an editor is far more work than preventing it.
Why is the text blurry in my screen recording?
Usually scaling rather than resolution. A 1920-wide recording played back in a 900-wide window is halved in size, and fine interface text does not survive that. Cropping and upscaling makes it worse, and video hosts re-compress uploads, which discards fine detail on flat backgrounds first. The fix is to enlarge the subject — zoom the application or record a tighter area — rather than to raise the capture resolution.
Which video codec should I use for screen recording?
For capture, one that encodes quickly with low CPU load, since encoding competes with the application you are recording. ViScreen offers DIVX, XVID and MPEG, all widely supported and opened directly by every mainstream editor. If the recording is destined for a social platform or video host, export it to H.264 MP4 from your editor before uploading.
How do I reduce the file size of a screen recording?
Record at 30 FPS rather than 60, and record a smaller area — both roughly halve or quarter the output. These are also the changes that make a capture smoother, so there is rarely a trade-off between file size and quality in screen recording, unlike in camera video.